Smart Contract 101
How to set up a working environment for developing a smart contract
Blockchain, DAO and smart contracts are quite understandable as concepts but when it comes to development, its a whole new world even for a seasoned developer. Instead of dealing with one server and a few databases, you will have to put your code out there for thousands of nodes to use all at once and the inability to ever modify the code makes it even more scarier. There are multiple libraries and packages available to facilitate this development process but integrating them as a fully functional development environment can be a task in itself. Following is a pretty minimal environment, quick to setup and use which can keep you going in under a few minutes. Once experienced with this, you can always upgrade to efficient versions of it.

Language/OS requirements
The language used for writing smart contracts is Solidity. Its closer to Javascript and the paradigm followed for smart contract dvelopment is somewhat object oriented. For OS, my personal preference is Ubuntu due to the ease of availability & installation of packages.If someone’s go to OS is Windows and they are still looking to have some advanced smart contracts development,a Virtual machine could be a nice option as well.
Editor
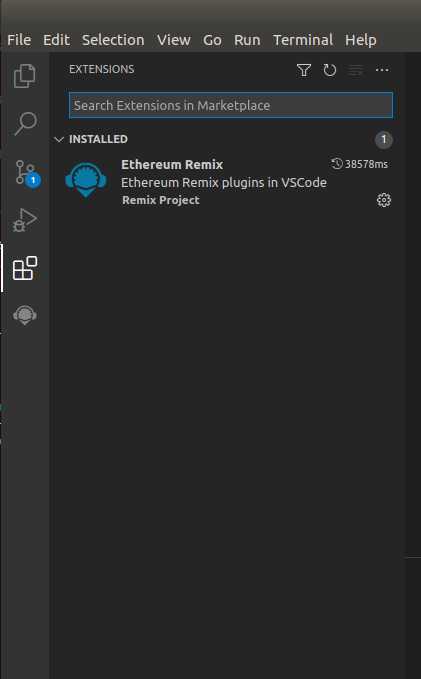
A quick Google search for a suitable editor for smart contracts development will always take you to Remix browser based IDE. It is a good starter to get familiar with solidity, different types of available solidity compilers and an easy and quick deployment, testing and debugging but if the intention is to have a solid application, then Remix might get too limited too soon. The biggest downside is not being able to access your local file system and having only browser storage at your disposal. Visual Studio is a good substitute. It has Ethereum Remix plugin available right out of the extensions and also provides the ability to have a local setup, deployment and run over local as well as Ethereum testnet and mainnet.
Development Environment
Truffle
Truffle is a whole package that can do multiple things for you all at once. While you can write your contracts, compile them and deploy them on a blockchain manually, Truffle is an application that can do all of this for you by a single command. Consider this as a wrapper that hides all the complication of compiling and deploying the contracts and provides you an easy to use interface and a manual to interact with this interface.
Test Suite
Just like anyother development cycle, a smart contract development follows the similar steps. You write a contract, debug it, test it and finally deploy it for application users. If anything, testing for smart contracts has to be extremely rigorous since unlike normal server based applications, making changes to a smart contract after its deployment is impossible. Its like set in stone and a bug fix is not a concept in smart contract’s universe. That is why there are multiple level of testing that can be done before putting it out for use.
- Local blockchain
We can set up our own local blockchain on our computer, deploy our smart contract over this blockchain and use multiple accounts to interact with the contract and test its functionality. This is particularly useful to uncover corner cases that you might not forsee in the development cycle itself. There are multiple tools available to set up your local chain but Ganache is the most useful for its ease of installation and usage. It also comes with multipltle user accounts with test ethers available already for use.
- TestNet
After local testing and before deploying it on mainnet, we would like to test our smart contract on a test net. A test net is an ethereum blockchain that is not on your computer, its on the web, accessible for public use but its still not the actual Ethereum blockchain. You interact on testnet using fake ethers and can include other entities to thoroughly test the functionality of your smart contract. Since its testnet, you can always make changes and deploy your smart contract again. Two most popular testnets are Ropsten and Rinkeby.
Now that we are on the web, we need to connect our wallet to test network as well in order to be able to test (transact) over testnet. There are multiple ways to do that but if you opted for Truffle, its as easy as giving your wallet address to Truffle via a configuration file and you are all sorted.
- Infura
Testnet or mainnet, both are blockchains, which means the only way you can interact with these chains is via a computer (node) that is an active part of that chain. You can do it by using your own computer as a node over the blockchain and this should be the ultimate goal but for a starter, if you want to keep the complexity to a minimum, Infura is a good substitute. In simpler word, Infura provides you an access to a computer which is already a part of testnet or mainnet and hence has everything setup out of the box. You just have to sign up for it and you are good to go. Infura provides a shared node which means the computer you get is also used by other people so you will have to create a project for youself and Infura generates a key for use that you then use to interact with testnet and mainnet.
NPM packages
Nodejs is a programming language that is used by most people to write packages or libraries. A package is a piece of software written to achieve a particular purpose and intention is to use a package as an off-the-shelf solution for different tasks. For instance, if you want to count the occurance of different alphabets in a sentence you do not need to write a code for it.Someone has already done it in nodejs and made available for you as a package.You just istall the package and use it. There exists some 800,000 packages like this and all of them are combined together in the form of a collection called ‘Node package Manager’. NPM, short for Node package manager is a container, whatever nodejs package you need you can install it on your computer using the command npm install <package name>
Now that we know all the components needed for the setup, we can set all of this up for development…
- Once you have installed visual studio, go to extensions in the left sidebar and install Ethereum plugin.
-
Install Truffle using the command
$ npm i truffle -
Create a new directory for your development project in Visual Studio, and inside the directory run the command
$ truffle init
This is where Truffle saves you all the manual effort and lays out a basic project structure for you out of the box. Once ran successfully, you will see three directories by the names of contracts, migrations and tests and a file named truffle-config.js. As the names are self-explanatory, contracts is where you will keep all your smart contracts (.sol) files. Migrations is the directory where you will have scripts that will be used to deploy(migrate) your contracts onto the blockchain and tests is where you will keep all your tests required to do a sanity and performance tests for your contracts.truffle-config.js is the file where you can set all the configurations for your project (config, short for configuration) e.g your wallet secret key, Infura project APi key etc.
Node Environment
Once we are inside a truffle project, before we start coding, we will setup a node enviornment as well. Setting up a node environment means having a placeholder ready for future use. Whatever node packges we will need on our way, we can easily install them using npm install command.
To setup the node environment, inside your project directory run the command
$ npm init
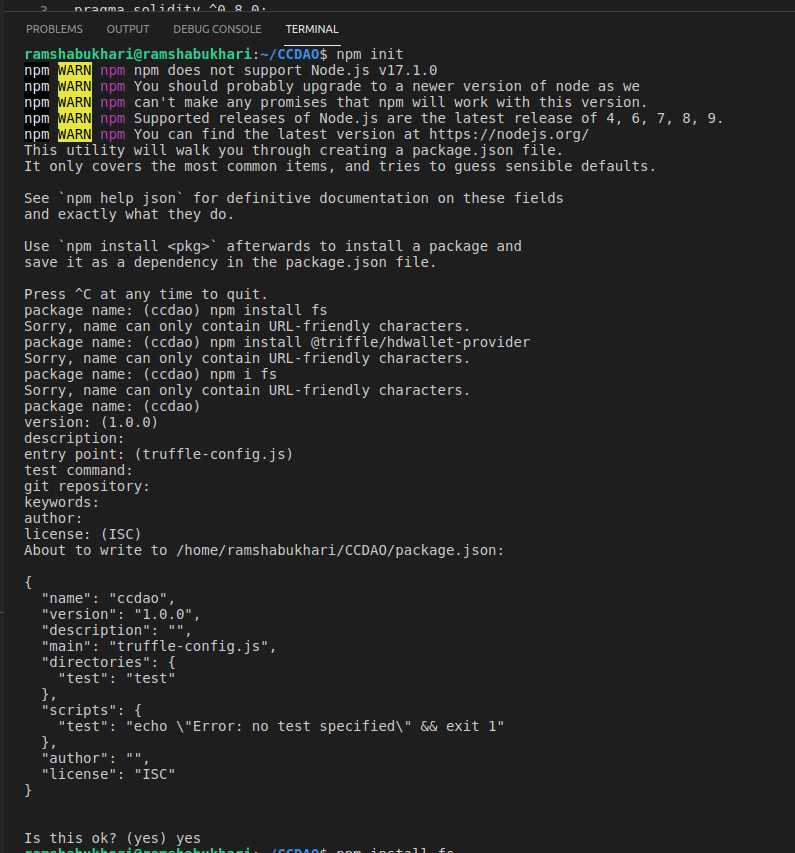
You will see some instructions, more like setting up the name, do as stated in the instructions until it shows you a package.json file. A package,json is a file where npm writes the names all the packages you install and their dependencies. Its just like keeping a track of all the packages you downloaded and installed from node package manager and this file can serve as a reference for future use.
At this point, you will be able to see package.json right next to your truffle-config.json.
Once the npm is setup, we will need to install two node packages.
npm install fsfs stands for filesystem. This package will assist truffle in accessing files on your computer.
npm install @truffle/hdwallet-providerThis is the package that helps truffle in accessing your wallet such as metamask while you try to interact with your smart contract on a testnet.
If you got all of these steps right, your basic setup for a smart contract development and deloyment is ready. Next, you can write the contracts, compile and deploy them using Truffle commands.
Stay Tuned!